")
One of our favorite personal protection lines that we carry is our Pepper Spray line! Pepper spray is a great personal safety tool that can be used while still giving a good distance between you and an attacker. Our .5 oz pepper spray can spray up to 16 ft which is great for a stressful situation!
DID You Know that we recommend that you change out your pepper spray canister every year? We want to ensure that you are carrying the best, up-to-date pepper spray just in case you ever have a situation where pepper spray is needed! At this time, we have two different options as well. The first is your classic Pepper Spray which comes in all current pepper cases. The second is our Sticky Pepper Pepper Spray which is a foam-based formula that sticks where it is sprayed and has the same strength as our original formula.
It was important to Damsel in Defense that all of our replaceable pepper sprays were as easy as possible to switch out! Below, we have also included instructions on how to switch out your pepper cannisters in your favorite pepper case!
Protected Pepper with Shield Technology:
- Ensure the Pepper Spray is in the “locked” position, or the clear tab on top has been turned to the left.
- Using the kit’s screwdriver, which you can view here, or your own, remove the screw that is under the Damsel in Defense logo on the back of the device. Then, pull the disable pin from the device by holding the body of the product upright and pulling the wristlet towards you. The bottom may pop off with the pin; if so, skip to step 4. If not, place the screwdriver in the hole where the disable pin was and push up to pop the bottom off.
- At the top of the device, take your screwdriver and place it at the bottom of the Shield button. Using a similar motion, push down to lift the button up and out of the device.
- Carefully move the clear tab from the left to the middle. Slide the pepper spray out and place the new one in, locking it to the left again when the new cannister is fully in the case.
- Once locked, click the button back into the case that was just removed.
- Back at the bottom of the product, click in the bottom of the product and re-screw the screw into the rightful place. Pop the disable pin back in and you are all set!
Protected Pepper:
- Ensure the Pepper Spray is in the “locked” position, or the clear tab on top has been turned to the left.
- Remove the disable pin by holding the device upright and pulling the wristlet towards you.
- Using a flathead screwdriver or a similar tool, gently place it in the hole the disable pin left and lift up to pop out the bottom of the device.
- At the top of the device, take your screwdriver and place it between the casing and the small bump. Using the reverse motion of step 3, push down to lift the button up and out of the device.
- Carefully move the clear tab from the left to the middle. Slide the pepper spray out and place the new one in, locking it to the left again when the new cannister is fully in the case.
- Once locked, click the button back into the case that was just removed.
- Going back to the bottom of the case, pop the bottom back into the case and then pop the disable pin back in and you are all set!
Hardcore Pepper Spray:
- Ensure the Pepper Spray is in the “locked” position, or the clear tab on top has been turned to the left.
- Hold the body of the product with one hand and grab the silver ring with the other. Pull apart the bottom from the case.
- Once it has popped off, carefully move the clear tab to the middle of the device and slide it out. Put the new one in, and move it to the locked position again.
- Pop the bottom back on and you are all set to go!
If you ever have any questions about replacing pepper sprays or if yours needs to be replaced, feel free to send an email to support@damselindefense.net or contact your Damsel Sgafety Educator and we would be happy to help you!

The Great Outdoors: Biking
Biking can be a wonderful pastime for all ages with minimal risk. That being said, we also want to...
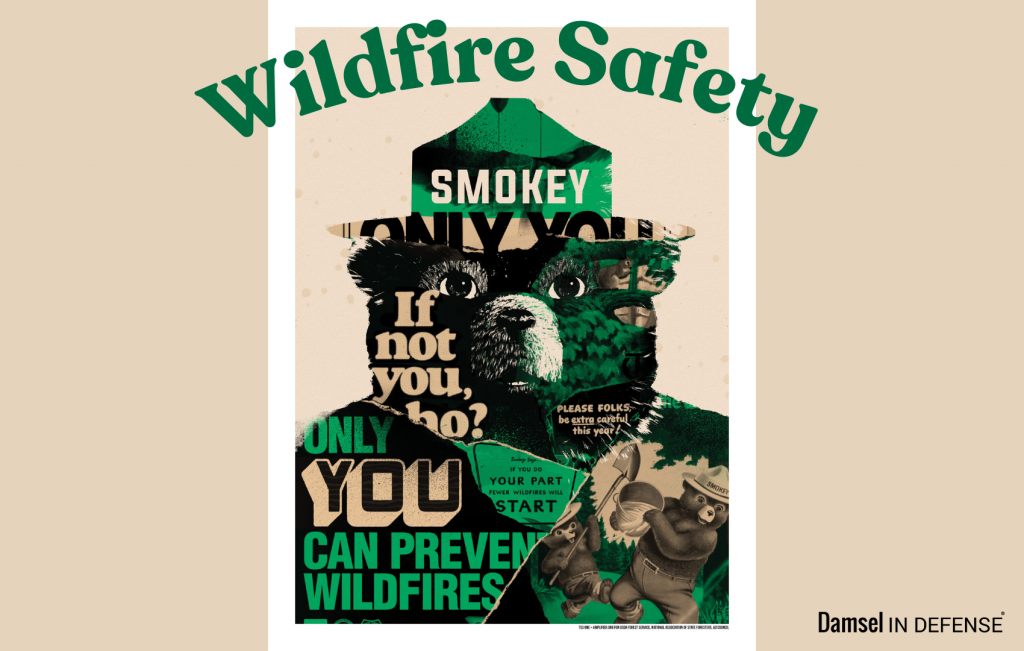
Wildfire Safety
Not many of us think to be smokejumpers - firefighters who provide the initial attack on remote...
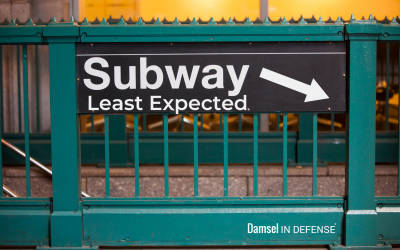
Least Expected: Subway Safety
Whether you take the subway, tube, or the metro, these rail systems can be convenient and quick...